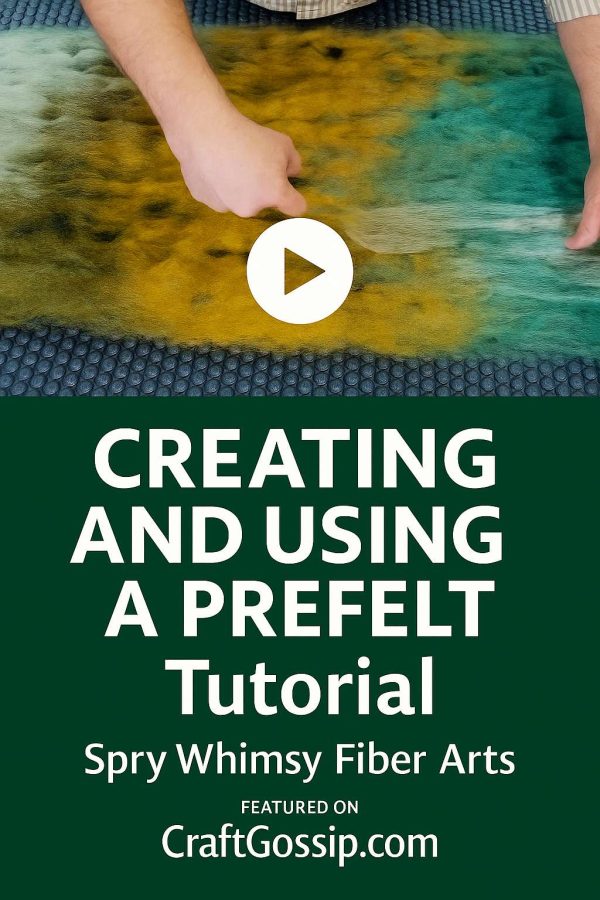
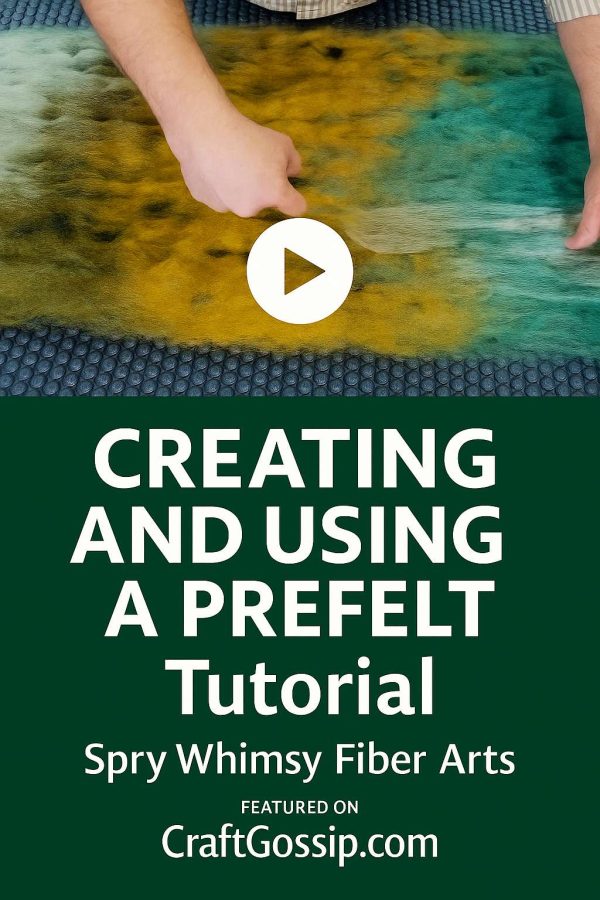
If you’ve ever wondered how artists achieve those beautifully blended backgrounds and crisp surface details in their felted pieces, Spry Whimsy Fiber Arts has you covered. Their Creating and Using a Prefelt tutorial breaks down one of the most useful skills in wet felting — making your own prefelt sheets for layering, structure, and design.
In this video, Peter from Spry Whimsy explains the process of building a prefelt from scratch and demonstrates how to use it creatively in later projects. Prefelt acts like a bridge between loose fiber and fully felted fabric — it’s soft enough to manipulate and cut, but stable enough to hold shape.
Peter starts by laying out fine layers of merino wool in alternating directions, then adds light soapy water to begin the felting process. He shows how to control shrinkage and texture, keeping the wool even as it bonds together. Once the sheet reaches the perfect semi-felted stage, he explains how to test its strength — it should hold together but still stretch and separate slightly when pulled.
From there, he moves into the fun part — cutting and applying prefelt designs to other felting projects. This step shows how versatile prefelt can be, whether you’re adding color blocks to a scarf, shapes to a wall hanging, or extra reinforcement to a sculptural piece.
Key takeaways from this tutorial:
- How to make a prefelt sheet from scratch using minimal materials.
- Understanding the right stage to stop felting for usable prefelt.
- Ideas for layering and cutting prefelt to add texture or pattern.
- Tips on color blending and fiber control for even results.
Peter’s clear, thoughtful explanations make this an excellent tutorial for both beginners and experienced felters. By the end, you’ll have a deeper appreciation for how prefelt can elevate your projects from flat to fantastic.
Watch it here: Creating and Using a Prefelt – Spry Whimsy Fiber Arts.