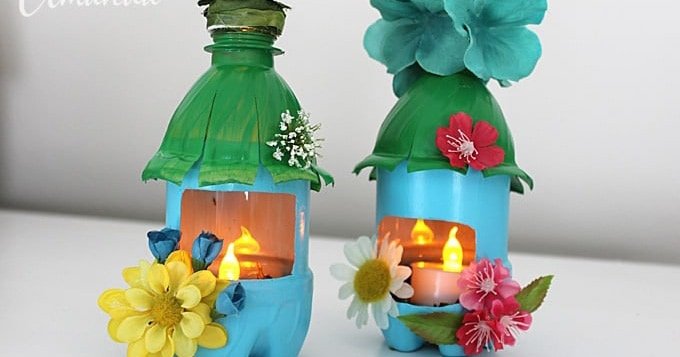

How much do your kids really know about recycling? Before I show you how to make these cute fairy house night lights, let’s talk about teaching kids to recycle. I know when I was growing up it wasn’t a big part of our daily lives like it is today. Kids learn about recycling at home and in school, but it’s up to us to keep the momentum going. I like to teach it through recycle crafts.
Why we love this project
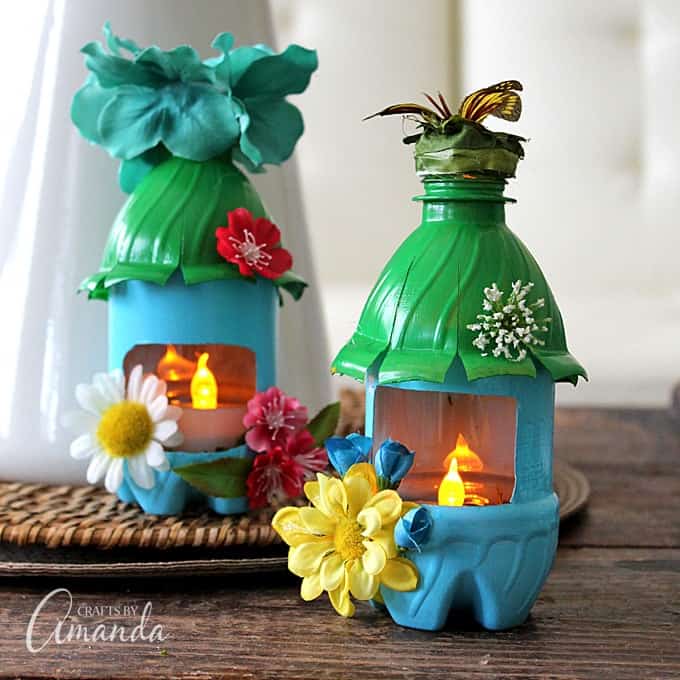
These cute fairy house night lights used to be empty plastic water bottles. You can find them along the roadside sometimes, but hopefully they are usually in the recycle bin. My neighbor’s grandchildren helped me out today by picking up some discarded plastic bottles along the tree line right by their elementary school.
There are plenty of ways to encourage recycling, like turning what would otherwise be garbage into fun craft projects, which if you’ve been following this blog for a while, you know I am passionate about! There are lots of ways to turn recycling into a game with sorting and color-coded boxes, or you can save this huge collection of plastic bottle crafts to do throughout the year.
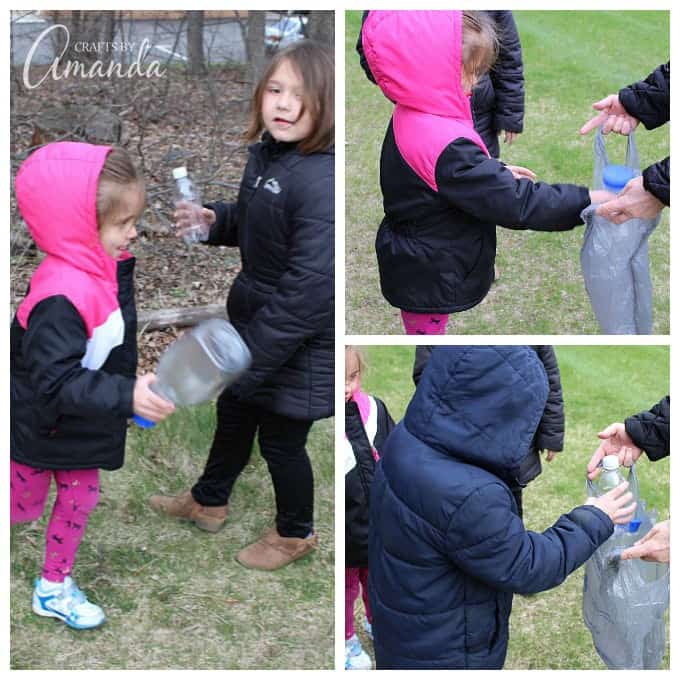
We collected several plastic bottles and washed a couple out with warm soapy water so we could turn them into these fun and colorful fairy house night lights!
I was really proud of the kids as they truly wanted to keep their environment clean. It was pretty chilly out today, but they insisted on picking up the trash and disposing of it properly, including recycling it.
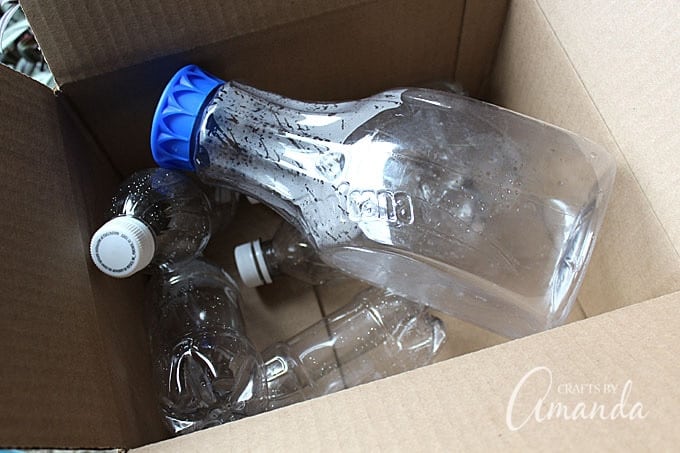
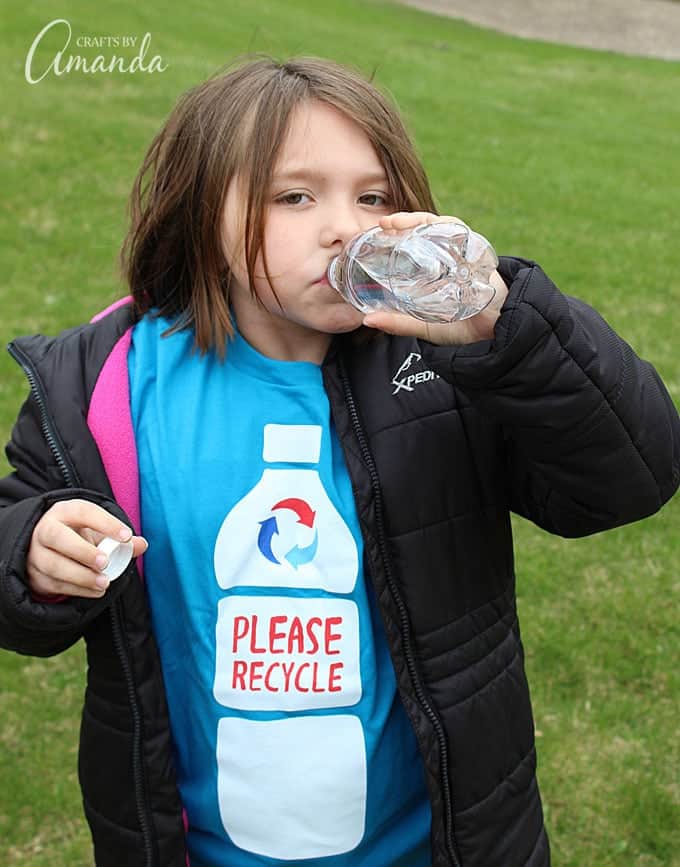
We talked about how to look at the recycling symbols on the bottom of the bottles so they would know what could be recycled and what couldn’t. Once we were back inside they sorted their findings and we washed several bottles for our craft project.
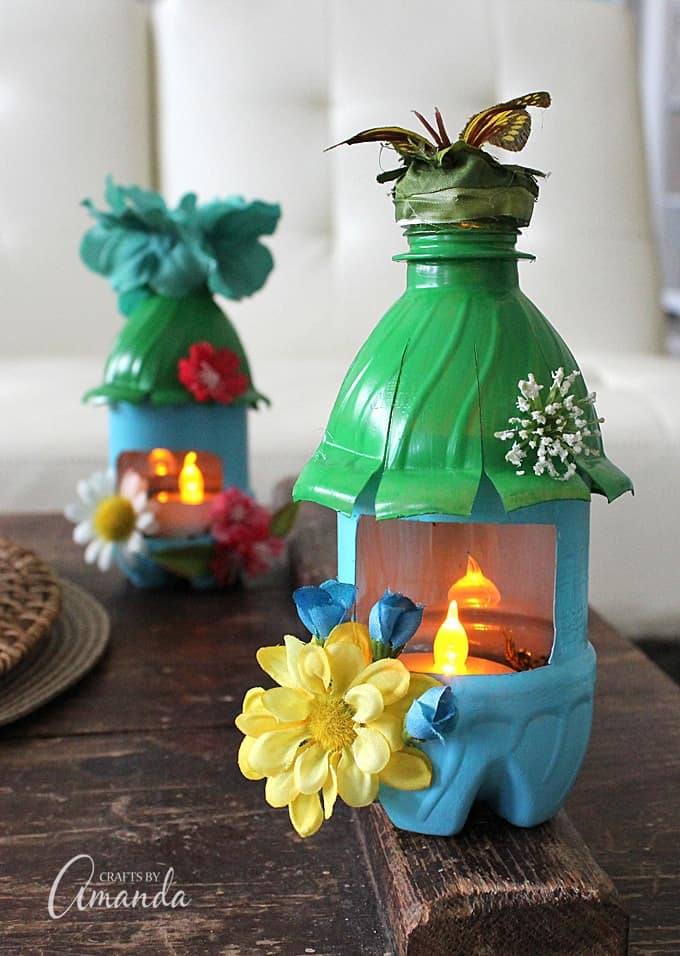
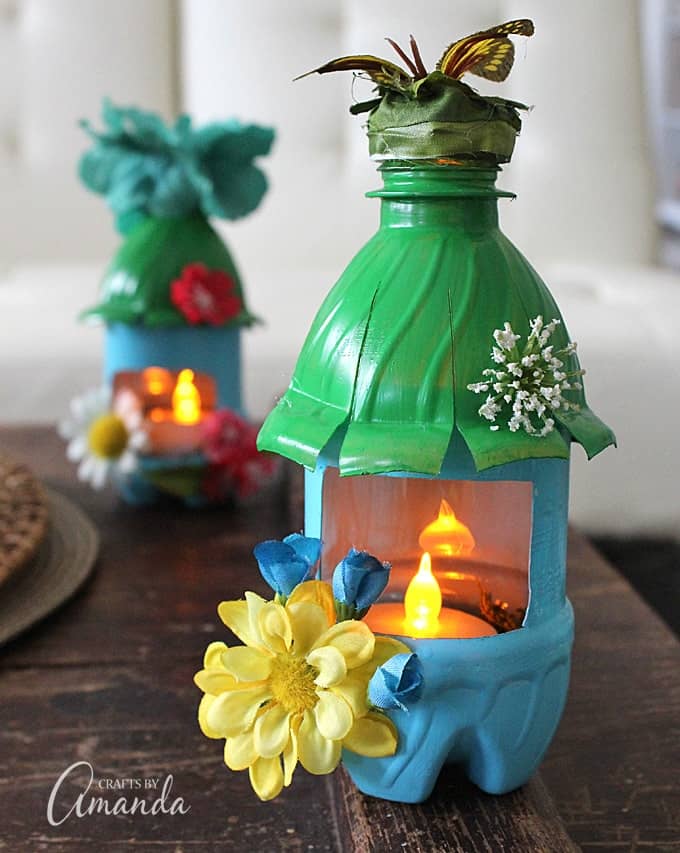
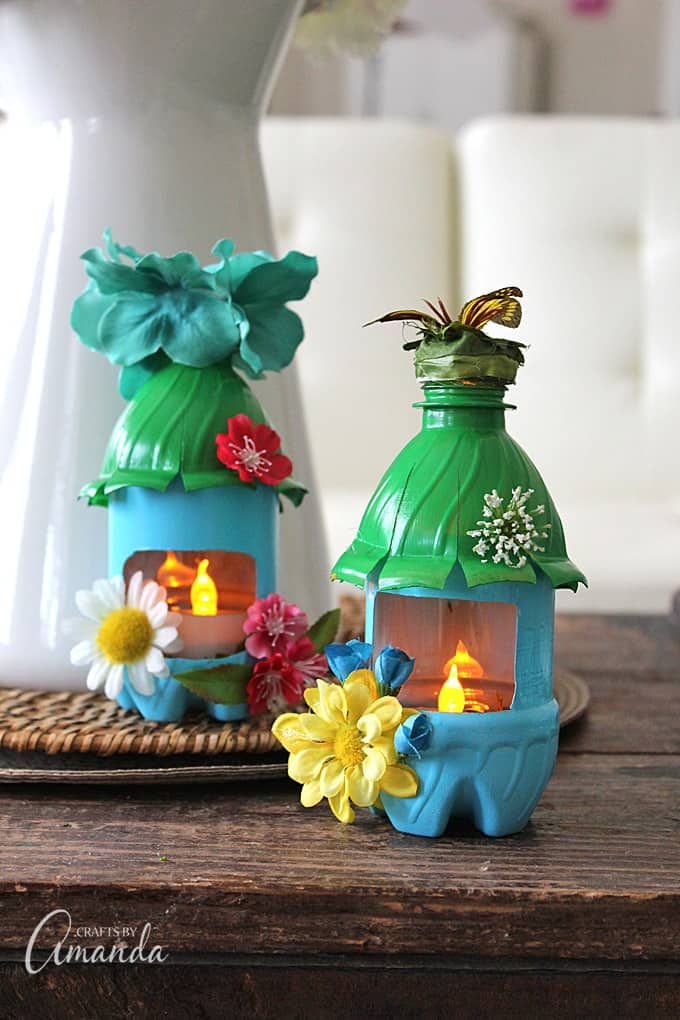
Now I’d like to show you how to make these sweet fairy house night lights that you can use anywhere in your home, including a child’s room or a nursery.
Craft supplies you will need
You can get a printable version of this craft below or watch the video above to see how it’s done.
These fairy house night lights were really fun to make and so easy! A great way to turn some empty water bottles into something cute and useful. These would even be sweet out on the patio for those warm summer nights!
More Fairy House Crafts
- I will show you How to Start a Fairy Garden in this post. From decorating a simple wooden birdhouse to creating the landscape around it. This fairy garden spend the entire summer of 2015 outside of my studio.
- This Birdhouse Fairy House is the first fairy house I ever made. The birdhouse cost $1.00 and I used natural elements as some paint to decorate it. Find out more by clicking the photo.
- My daughter and I created this Pumpkin Fairy House as an entry into the pumpkin decorating contest where she works. She actually won first prize! It’s a fun project, but if I did it again I would use a fake pumpkin.
Watch the video below for the complete instructions, you can also print the instructions at the end of this post.
Fairy House Night Lights
Turn empty plastic water bottles into adorable little fairy house night lights! Fun for a child’s room or a nursery, or even the garden.
Supplies
- Recycled plastic bottle
- Multi-surface craft paint
- LED tea light
- Silk flowers
- Moss
- Hot glue gun
- Craft knife
- Scissors
Instructions
-
Cut top portion of bottle off with craft knife.
-
Remove the lid and set aside. Cut off the plastic band around the neck of the bottle.
-
Paint both halves of the bottle with colors of your choice. Allow to dry 30 minutes then repeat for a second coat.
-
Cut a window in the bottle half of the bottle, large enough to fit the tea light inside.
-
Cut slits halfway up the top half of the bottle, about 1-inch apart. Bend the ends of each slit upward so that they stick out.
-
Decorate the outside of the house with silk flowers.
-
Cover the bottle lid with silk leaves or flowers. Place lid back on the neck of the bottle.
-
Add some hot glue to the inside of the bottom half of the bottle and line the bottom with moss. Add tea light candle.
-
Place “roof” on top of the “house”.
This post originally appeared here on Apr 5, 2016.