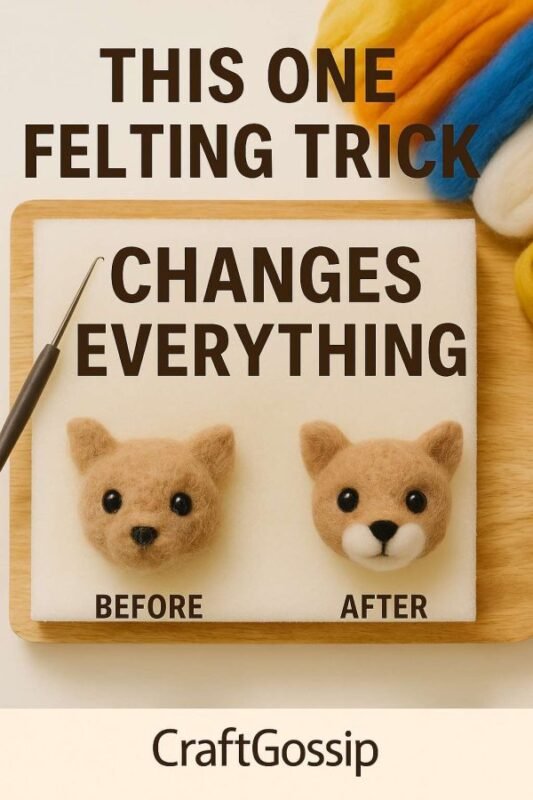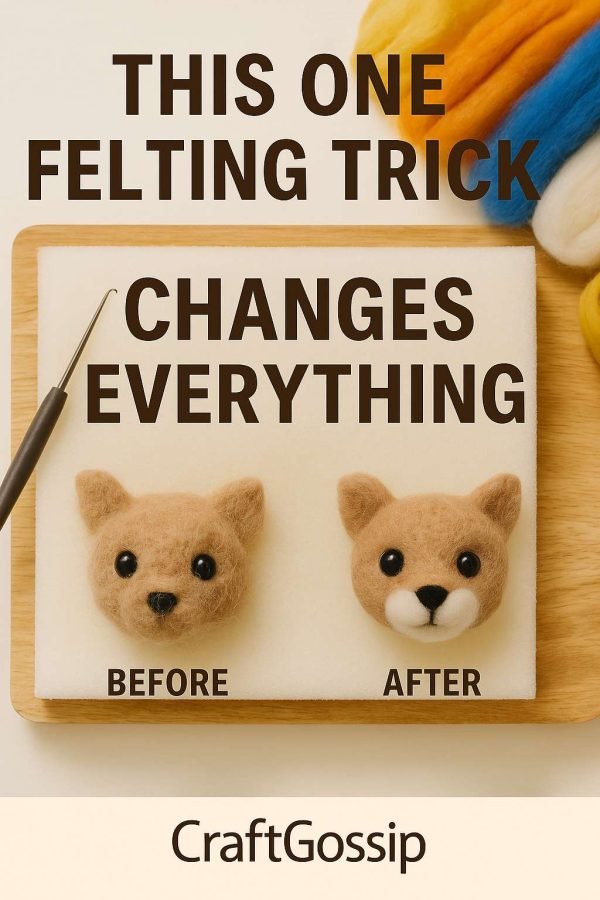
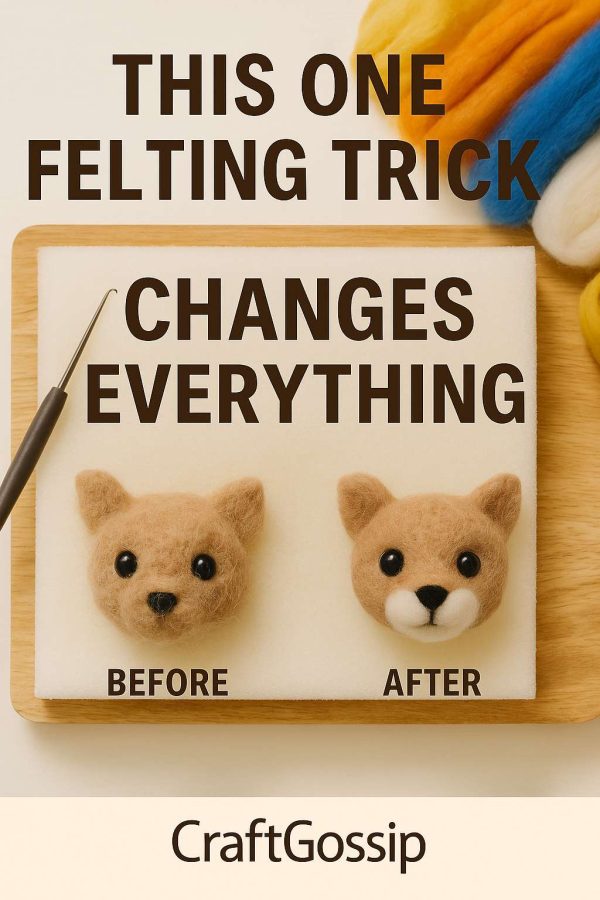
You know that moment when you step back from a needle felting project and think, “It’s cute, but something’s just… off”? The shape is perfect, the colors are right, but the surface looks fuzzy, uneven, or a bit too “handmade.”
That’s the difference between finished and polished. And the best part? You can fix it in minutes — no fancy tools, no special wool, just one simple trick that every experienced felter swears by.
Let’s talk about the surface-finishing technique that instantly transforms your felt from fuzzy to fabulous.
The Problem: Fuzz Happens
No matter how careful you are, felting naturally leaves behind stray fibers. Those little hairs catch the light and make your piece look rough — especially on animals, figures, or anything meant to look realistic.
You might be tempted to felt harder (we’ve all done it), but over-felting only leads to dents, holes, or flat, lifeless texture. The goal isn’t to stab more — it’s to smooth smarter.
The Trick: Finish with a Fine Needle and a Light Touch
The secret to a professional finish isn’t brute force — it’s finesse.
Once your piece is firm and well-shaped, switch to a finer gauge needle (like a 40 or 42 triangular or spiral). These fine needles tangle fibers more delicately, closing the surface without creating visible holes.
Here’s how to do it:
- Work in good natural light so you can see the fiber direction.
- Hold your piece steady and use short, shallow pokes at a low angle — you’re barely grazing the surface.
- Focus on visible lines, seams, or areas that still look fuzzy.
- Gently rotate your piece often to avoid overworking one side.
In about five minutes, you’ll notice your wool start to look denser and smoother — like a soft suede instead of a fuzzy blanket.
Bonus Step: The Steam & Smooth Technique
Want to take it up a notch? Grab your kettle or garment steamer.
Steam felting is the secret finishing move most crafters don’t realize they can do safely. The gentle heat relaxes fibers just enough to let them settle into a perfectly smooth surface.
How to steam finish your felt:
- Hold your felted piece about 6–8 inches from the steam (don’t soak it).
- Let the warm mist soften the top layer of wool for a few seconds.
- Press and shape gently with your fingers — you’ll feel the fibers tighten slightly.
- Let it dry completely before handling again.
It’s like a spa day for your felt — the fibers lie down flatter, the shape refines itself, and your whole piece looks more sculpted and clean.
Optional: Surface Shaving (Yes, Really!)
This one sounds wild, but it works. Some professional felters use a small disposable razor or fabric shaver to remove stray hairs once the surface is fully felted.
Here’s how to do it safely:
- Make sure your felt is completely dry and firm.
- Hold your razor lightly against the surface.
- Shave gently in one direction to remove the fine fuzz.
It’s surprisingly satisfying — and gives your work that flawless, gallery-ready finish.
Why This Works
Felting is all about fiber direction and density. Every poke moves wool down and around itself, but not all fibers get fully anchored right away. Finishing needles, steam, and gentle smoothing simply encourage the surface layer to tighten and align, giving that clean, professional look.
You’re not changing the shape — you’re just refining the surface so the craftsmanship shines through.
When to Use This Technique
You’ll get the best results when:
- Finishing animal sculptures (especially faces and paws)
- Creating smooth forms like spheres, fruit, or jewelry beads
- Blending seams between color sections
- Adding realistic detail to miniature or portrait felts
Basically, if you want your felt to look like it belongs in a shop window or art gallery — this is your final step.
Common Mistakes to Avoid
- Over-felting: If you stab too deeply with a fine needle, you’ll flatten the shape or create thin spots. Keep strokes light and surface-level.
- Using a wet piece: Always let your felt dry before finishing, or the fibers will mat unevenly.
- Skipping rotation: Turn your project as you work to keep the texture even.
The Instant Payoff
When you compare your “before” and “after,” the difference is jaw-dropping. Smooth, sculpted wool catches the light beautifully, holds color definition, and feels firm yet velvety.
It’s the kind of finish that makes people ask, “Wait — you made that?”
Professional-looking felting isn’t about experience or expensive materials — it’s about patience, attention, and a soft touch. By spending just ten extra minutes with a fine needle and a bit of steam, you can turn your good felting into truly great felting.
And once you start finishing your pieces this way, you’ll never go back.