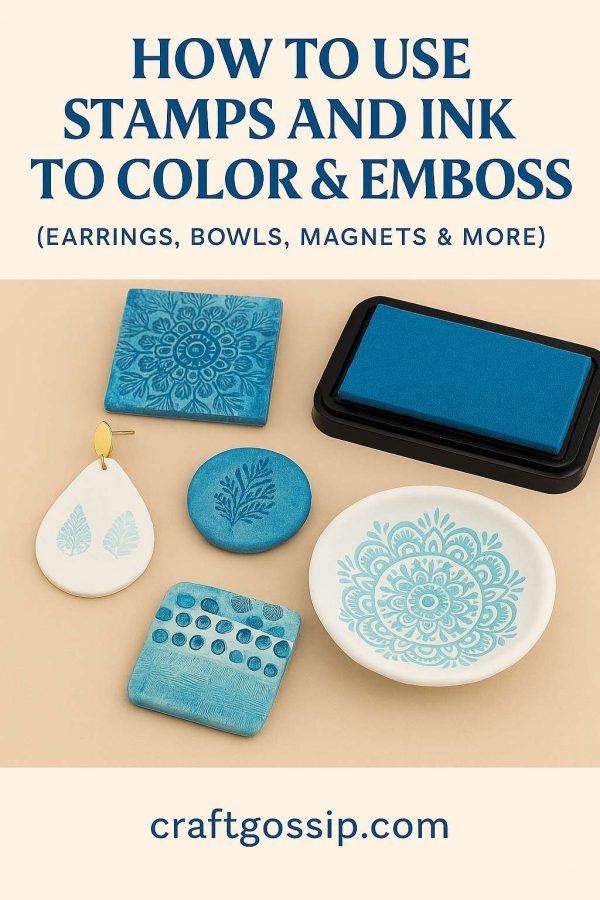
Air dry clay is one of those magical craft supplies that never seems to go out of style. It’s inexpensive, versatile, and doesn’t require a kiln or fancy tools. If you’ve ever rolled out a batch and thought, “Hmm, how can I take this from plain to polished?”—the answer might just be sitting in your craft drawer already: rubber stamps and ink pads.
Stamping onto clay is a simple technique that gives your projects color, texture, and even a touch of sophistication. From dainty earrings to catch-all bowls and cute fridge magnets, this method can transform your air dry clay creations into little works of art.
Why Stamps Work So Well on Air Dry Clay
Air dry clay is soft and takes impressions beautifully. When you press a stamp into it, the design sinks in like an embossing plate. Add ink, and suddenly you’ve got built-in color and detail without paintbrushes or extra mess.
This technique is also perfect for crafters who want quick results—you can stamp and color in one step, let it dry, and seal for a professional finish.
What You’ll Need
- Air dry clay (white or light colors show the stamping best)
- Rubber or silicone stamps (clear acrylic stamps work too)
- Stamp ink pads (pigment inks give stronger color than dye inks)
- Acrylic roller or rolling pin
- Cookie cutters or a craft knife for shapes
- Sandpaper (fine grit) for smoothing edges
- Mod Podge, acrylic sealer, or clear varnish
- Jewelry findings (for earrings) or magnet backs (for fridge magnets)
Step-by-Step: Stamping & Inking Clay
1. Roll Out Your Clay
Work on a smooth surface and roll your clay to about ¼ inch thick. For earrings, go thinner (around ? inch) so they’re lightweight.
2. Ink Up Your Stamp
Take your stamp and gently tap it onto your ink pad. Make sure the raised areas are coated evenly. If you want a softer look, wipe a little off before pressing.
3. Stamp the Clay
Press the stamp straight down into the clay with firm, even pressure. Avoid rocking it side-to-side or you’ll get smudges. Lift straight up to reveal the impression.
- Tip: If you want just an embossed design (no color), skip the ink and use a clean, dry stamp. You can paint or ink afterward.
4. Cut Out Your Shapes
Use cookie cutters, a knife, or shape templates to cut your clay. Circles for earrings, hearts for magnets, or freeform organic shapes for bowls.
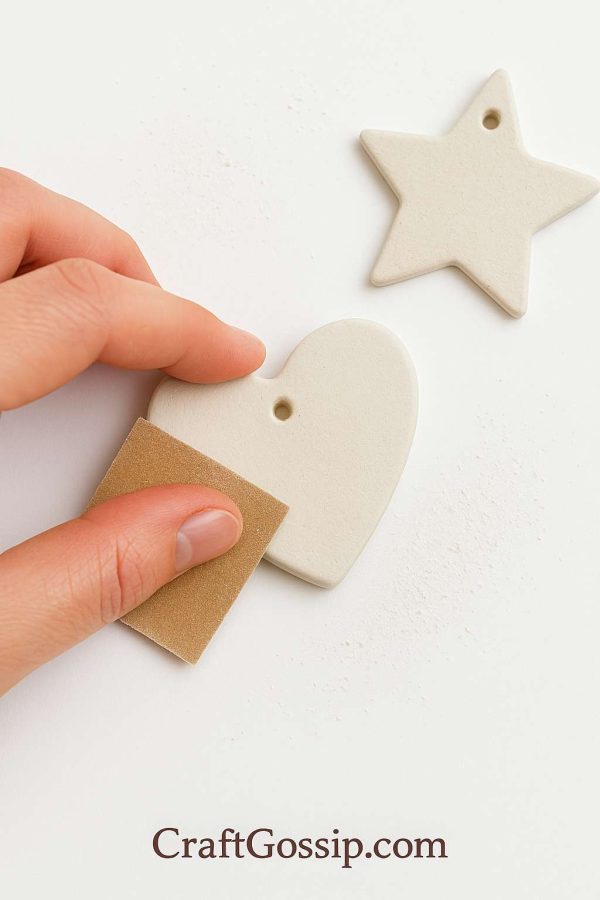
5. Smooth the Edges
Dampen your fingertip or a sponge to soften any rough edges. You can sand them once dry, but a little smoothing now saves time later.
6. Let It Dry
Air dry clay needs time—usually 24–48 hours depending on thickness. Flip pieces halfway through for even drying.
7. Add Extra Color (Optional)
Once dry, you can layer on more ink with a blending sponge, brush ink into the stamped recesses, or even highlight raised areas with metallic pigment.
8. Seal Your Work
Seal with Mod Podge, clear varnish, or spray sealer to protect the ink and make your piece water-resistant. For jewelry, always seal so it doesn’t rub off on skin or clothes.
Project Ideas to Try
- Stamped Clay Earrings – Use geometric stamps or floral patterns, cut with a small cutter, and attach earring posts.
- Mini Trinket Bowls – Press lace or large patterned stamps into rolled clay, then mold the circle into a shallow dish.
- Magnets – Stamp inspirational words or fun motifs, then glue a magnet to the back once dry.
- Gift Tags & Ornaments – Roll clay thin, stamp with holiday designs, cut shapes, and punch a hole for ribbon.
Extra Tips & Tricks
- Metallic inks look gorgeous on clay and give a faux-ceramic look.
- To avoid stamps sticking, lightly dust clay with cornstarch before pressing.
- Want multi-color? Ink different parts of the stamp with multiple ink pads before pressing.
- If your stamped design isn’t bold enough, outline it with a fine-tip permanent marker once dry.