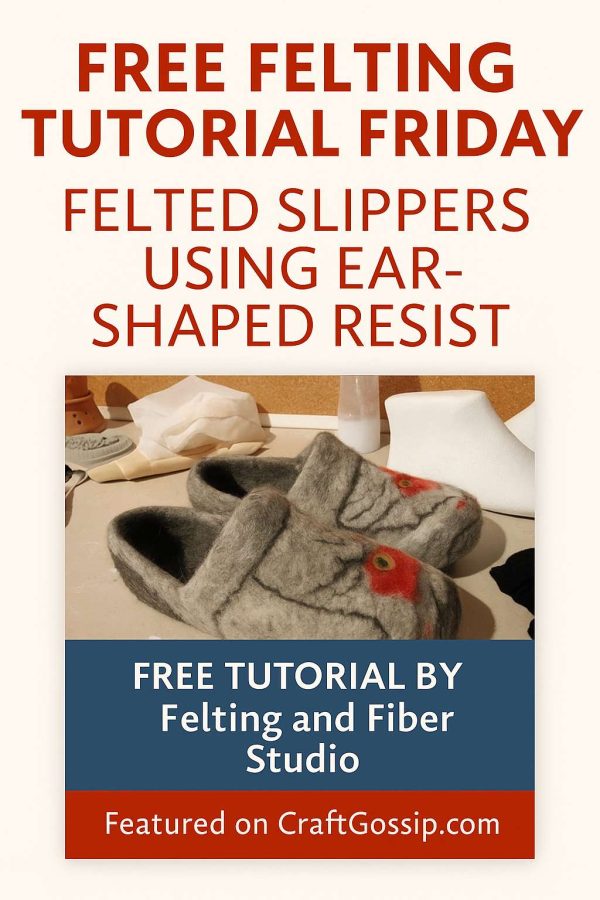
This week’s Free Felting Tutorial Friday is one for cozy feet and creative souls! If you’ve ever wanted to try your hand at making a pair of felted slippers that fit perfectly and look beautifully handmade, this project from Felting and Fiber Studio is just what you need.
Using a clever ear-shaped resist technique by fiber artist Nada V., this tutorial walks you through crafting structured yet soft slippers that hug your feet in warmth — ideal for chilly mornings, handmade gifts, or even as your next craft fair bestseller.
What You’ll Need
Here’s what you’ll gather before getting started:
- Wool batting or roving (fine merino or corriedale works well)
- A pair of resist templates cut in the distinctive ear shape
- Warm soapy water
- A bubble wrap surface or felting mat
- Towel and rolling pin (or your preferred felting tools)
- Optional: fibers, yarn, or embellishments for decoration
Step-by-Step: From Wool to Slippers
- Create your resist.
The key to this project’s success is the “ear-shaped” resist — a form that helps shape both the sole and the top of the slipper in one piece. Trace the template and cut it out from thick plastic or foam underlay. - Build your wool layers.
Lay down several thin, even layers of wool over your resist, alternating the direction of fibers with each layer. This ensures even shrinkage and durability. Add warm, soapy water to wet the fibers and gently begin to felt by hand. - Shape and shrink.
Once your wool has firmed up, cut open the top to remove the resist. Continue felting, shaping the slippers to your foot size. Roll, squeeze, and massage until the fibers tighten and the surface feels smooth. - Add finishing touches.
Rinse the slippers, shape them again on your feet or over a shoe form, and leave them to dry. Once dry, you can embellish them — Nada’s tutorial adds charming embroidered or needle-felted details for personality and warmth.
Why We Love This Project
This slipper tutorial combines practicality and artistry. The ear-shaped resist method is a game changer, giving a more ergonomic fit and professional finish without complicated sewing. Plus, once you’ve mastered the technique, you can adapt it for boots, baby slippers, or even indoor shoes with soles attached.
Every pair will come out unique — reflecting your color choices, embellishments, and personality.
Final Thoughts
Felting slippers from scratch is one of those satisfying projects that blend utility with creativity. The end result? A beautiful, cozy, wearable work of art that keeps your toes warm and your crafting spirit alive.
You can view the full tutorial with detailed photos and instructions at Felting and Fiber Studio:
Felted Slipper Tutorial Using Ear-Shaped Resist by Nada V.